Universal crossfade overview
What is Universal crossfade?
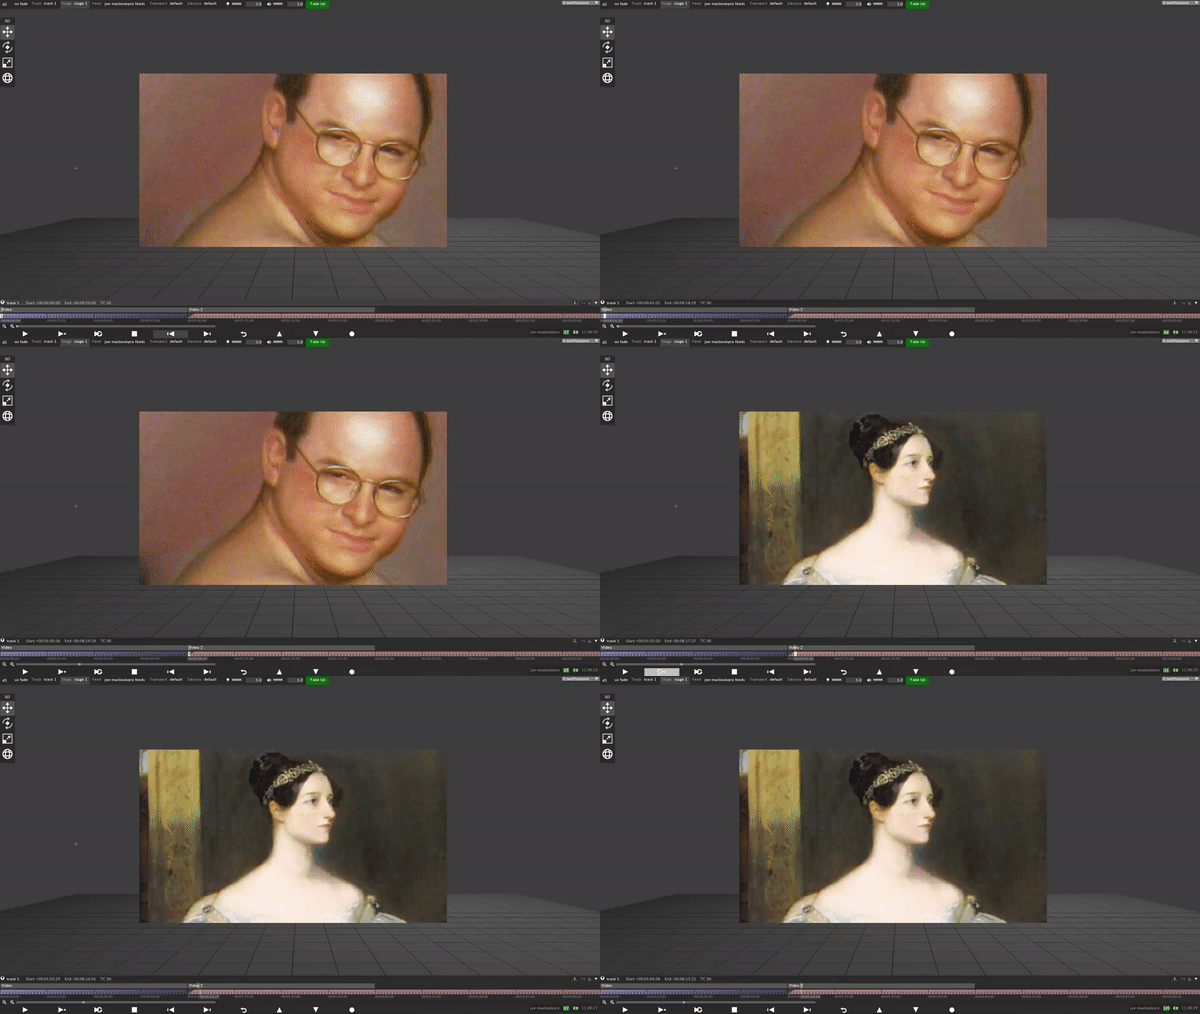
Universal crossfade allows you to smoothly dissolve / fade between any two points in a show.
Up to r11.3, the only way to transition from one point in a track to another, or to another track, was a hard cut. In r12 onwards, you can jump from any point in a track to any other point, or to another track, with a smooth dissolve.
Crossfade duration
Controlling the duration of the dissolve can be done in three ways:
-
Globally across the entire project: open the state manager by right clicking the d3 icon on the top left of the gui, navigate to Project Settings and see option Global Crossfade Duration.
-
Per-track: right-click on the track title bar, select Special settings, switch Default Crossfade to Fade or TrackSection, and select the transition time you want to use.
-
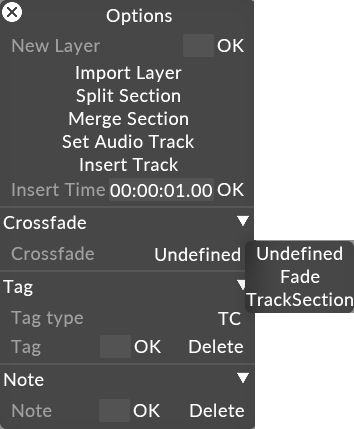
Per section: right-click on the first bar of the section, under the Crossfade tab, select either Fade or TrackSection and configure the parameters accordingly.
Fade transitions is the mode universal crossfade has always used.
These can be set at either a global level, track level or section level. Each overriding the last in order of precedence.
To access the fade settings:
-
Right click a section

-
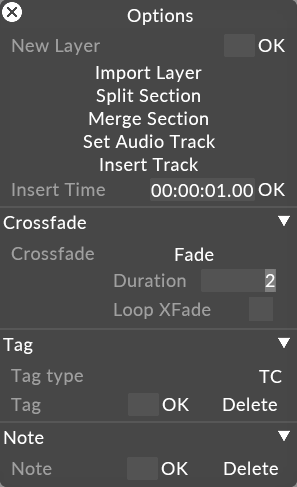
Set the crossfade from Undefined to Fade.
-
Set the duration to be whatever time you wish the fade to occur over.

-
The first second of each section shows a triangular indentation to indicate that jumping into the section will initiate a dissolve of that duration. The duration is always controlled by the destination section.
.png)
The fade is started under two circumstances :
-
Jumping to another point on the timeline
-
Holding at the end of a section and going forward into the next section
Please note: that playing across a section boundary will not start the dissolve. Only an action that forces the playhead to another location on the timeline will trigger the crossfade.
When in loop section playmode, the playhead can crossfade to the beginning of the current section x seconds before the end of the section. Where x is the duration of the fade or the length of the specified track section used to render the transition. This helps create a more seamless fade back to the start of a section rather than a hard cut.
-
Right click on a section and set the transition to fade.
-
Check Loop XFade box.
-
The section will now fade back to the beginning using the duration set.
As of r17.1, you can sequence a transition instead of using universal crossfade which only allows a straight dissolve. Note that sequenced transitions can only be used at the section level currently.
-
Individual RGBA components are actually transitioned independently.
-
During a transition, all layer types are expected to work except those which deal with transport commands or status. Examples include:
-
TransportVolumeLocal
-
TransportBrightnessLocal
-
TransportControl
-
TrackJump
-
Readout
-
-
Audio is played back during transitions. This is to allow an audio component to the transition.
-
Prefetch is not performed - any 'heavy' video files will likely fail on the first frame. A workaround would be to offset the transition video forward by a frame or two.
Setting up a sequenced transition
-
Create a track called “transitions”.
-
Create sections within the track that define your transition lengths.
-
Within your section, sequence a video file or texture starting black, and ending white. Playmode should be set to “pause at end”.
-
Give the section a name by using a note.
-
On your main show track, right click a section to define a section based crossfade. This can also be set via Telnet when using the Multi-transport API.
-
Choose “Track Section” in place of the crossfade override.
-
Choose the transition section to use.
